- リンクを取得
- ×
- メール
- 他のアプリ
GCP連携を使って自動投稿
Blogger APIを使用することでプログラムからBloggerへ投稿できるようになります。この作業にはGCPとBloggerの連携の手続きが先に必要です。
Pythonライブラリの追加
$ pip install google-api-python-client
$ pip install google-auth-httplib2
$ pip install google-auth-oauthlib
$ pip install google-cloud-translate
Pythonプログラム
RSSのタイトルと内容をBloggerへ記事をポストするプログラムを作成します。
test.py
# coding: utf-8
import feedparser
import requests
import os
import pickle
from extractcontent3 import ExtractContent
from apiclient.discovery import build
from apiclient.errors import HttpError
from apiclient.http import MediaFileUpload
from google_auth_oauthlib.flow import InstalledAppFlow
from google.auth.transport.requests import Request

extractor = ExtractContent()
# オプション値を指定する
opt = {"threshold":50}
extractor.set_option(opt)

TOKEN_PICKLE = 'token.pickle'
CLIENT_SECRETS_FILE = "client_secret.json"

TRANS_REQUEST_SCOPE = "https://www.googleapis.com/auth/cloud-translation"
TRANS_API_SERVICE_NAME = "translate"
TRANS_API_VERSION = "v3"
TTS_REQUEST_SCOPE = "https://www.googleapis.com/auth/cloud-platform"
TTS_API_SERVICE_NAME = "texttospeech"
TTS_API_VERSION = "v1"
BLOGGER_UPLOAD_SCOPE = "https://www.googleapis.com/auth/blogger"
BLOGGER_API_SERVICE_NAME = "blogger"
BLOGGER_API_VERSION = "v3"
YOUTUBE_UPLOAD_SCOPE = "https://www.googleapis.com/auth/youtube"
YOUTUBE_API_SERVICE_NAME = "youtube"
YOUTUBE_API_VERSION = "v3"

def get_authenticated_service(api,version):
    scope = [BLOGGER_UPLOAD_SCOPE,YOUTUBE_UPLOAD_SCOPE,TTS_REQUEST_SCOPE,TRANS_REQUEST_SCOPE]
    creds = None
    # The file token.pickle stores the user's access and refresh tokens, and is
    # created automatically when the authorization flow completes for the first
    # time.
    if os.path.exists(TOKEN_PICKLE):
        #print ('exists')
        with open(TOKEN_PICKLE, 'rb') as token:
            creds = pickle.load(token)
    # If there are no (valid) credentials available, let the user log in.
    if not creds or not creds.valid:
        if creds and creds.expired and creds.refresh_token:
            creds.refresh(Request())
        else:
            flow = InstalledAppFlow.from_client_secrets_file(
                CLIENT_SECRETS_FILE, scope)
            creds = flow.run_local_server(port=0)
        # Save the credentials for the next run
        with open(TOKEN_PICKLE, 'wb') as token:
            pickle.dump(creds, token)

    try:
        # simulate calling a method that's not defined
        auth = build(api, version, credentials=creds)
    except Exception as e:
        print(e)
        return None

    return auth

def postBlog(title ,description, tag ):
    blogger = get_authenticated_service(BLOGGER_API_SERVICE_NAME,BLOGGER_API_VERSION)
    blog_id = "your blog id"
    jsondata = {
    "kind": "blogger#post",
    "blog": {
        "id": blog_id,
    },
    "title": title,
    "content": description,
    "labels" : [tag],
    }

    try:
        # simulate calling a method that's not defined
        posts = blogger.posts()
        insert = posts.insert(blogId=blog_id, isDraft=False, body=jsondata)
        posts_doc = insert.execute()
    except Exception as e:
        print(e)
        return None
return posts_doc["url"]以前のgetBody()から上記のpostBlog()を呼び出します。
test.py
def getBody(link):
    try :
        res = requests.get(link)
        extractor.analyse(res.text)
        text, title = extractor.as_text()
        postBlog(title,text,'TECHNOLOGY')
    except Exception as e :
print(e)※OSや設定によっては自動的にブラウザが開きます。
$ python3 test.py

Please visit this URL to authorize this application: https://accounts.google.com/o/oauth2/auth?response_type=code&client_id=xxxxxxxxxx-uik2iaamo4jl5fjugidabsv7iqb6c0n6.apps.googleusercontent.com&redirect_uri=http%3A%2F%2Flocalhost%3A60533%2F&scope=https%3A%2F%2Fwww.googleapis.com%2Fauth%2Fblogger+https%3A%2F%2Fwww.googleapis.com%2Fauth%2Fyoutube.upload+https%3A%2F%2Fwww.googleapis.com%2Fauth%2Fcloud-platform+https%3A%2F%2Fwww.googleapis.com%2Fauth%2Fcloud-translation&state=XXXXXXXXXXXXXXXXXXX&access_type=offline 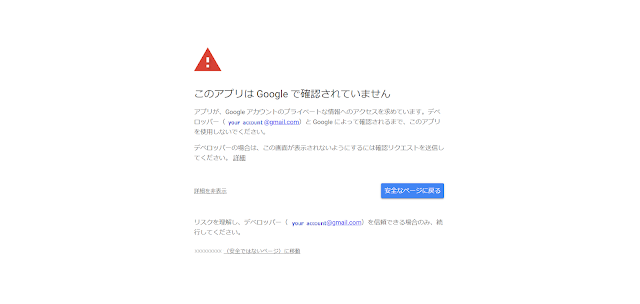
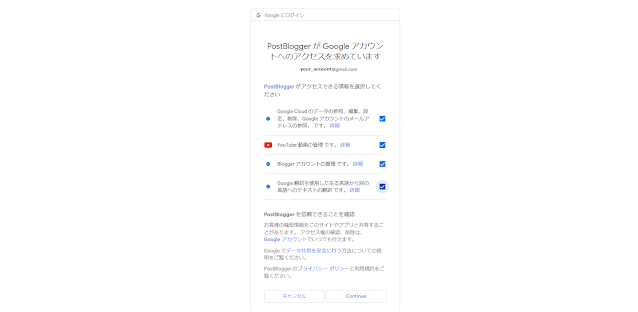
付与するAPIを選択してアクセス権限を付与します。
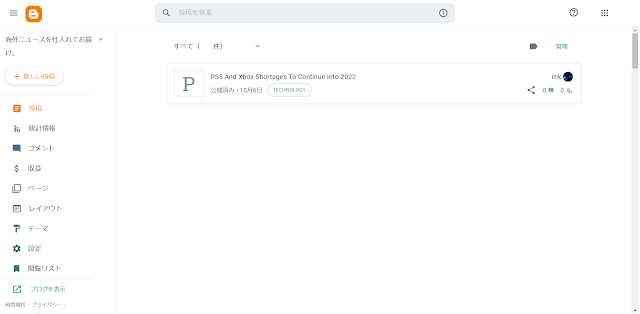
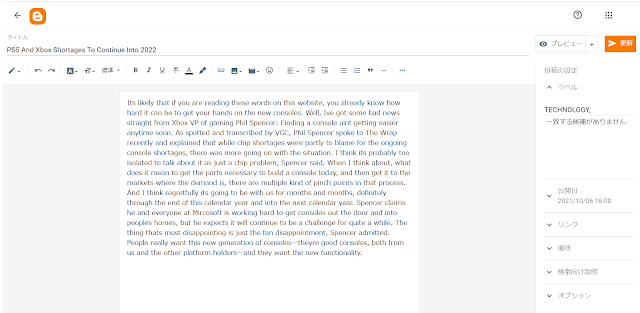
これでGoogleのAPIが使用できますので無事動作が正常すればBloggerにブログが投稿されているはずです。